Repairing expresso machine

I’ve Repaired My Breville Espresso Machine
The Diagnosis: When Good Coffee Goes Bad
My decade old Breville 800ESXL started making bad coffee. After descaling and soaking portafilter baskets with citric acid which improved the flavour by a lot, the pump became increasingly noisy, pressure dropped noticeably, and eventually, it struggled to push water through the group head at all. Citric acid wasn’t enough this time.
Disclaimer and Safety Warning
NON-RESPONSIBILITY CLAUSE: The information provided in this article is for educational purposes only. Working with electricity is inherently dangerous. By attempting this reparation, you assume all risks associated with the process. The author and publisher are not responsible for any property damage, injuries, or other losses resulting from following these instructions. Always prioritize safety, check local electrical regulations.
Parts and Tools Needed
For this repair, I gathered:
- Replacement pump (Ulka EX5), verify for your specific model if you plan doing that repair
- Screwdriver set (Phillips and flathead), mine actually had torx head
- Towels for water spillage
- citric acid for soaking parts to clean
The Repair Process
Step 1: Disassembly
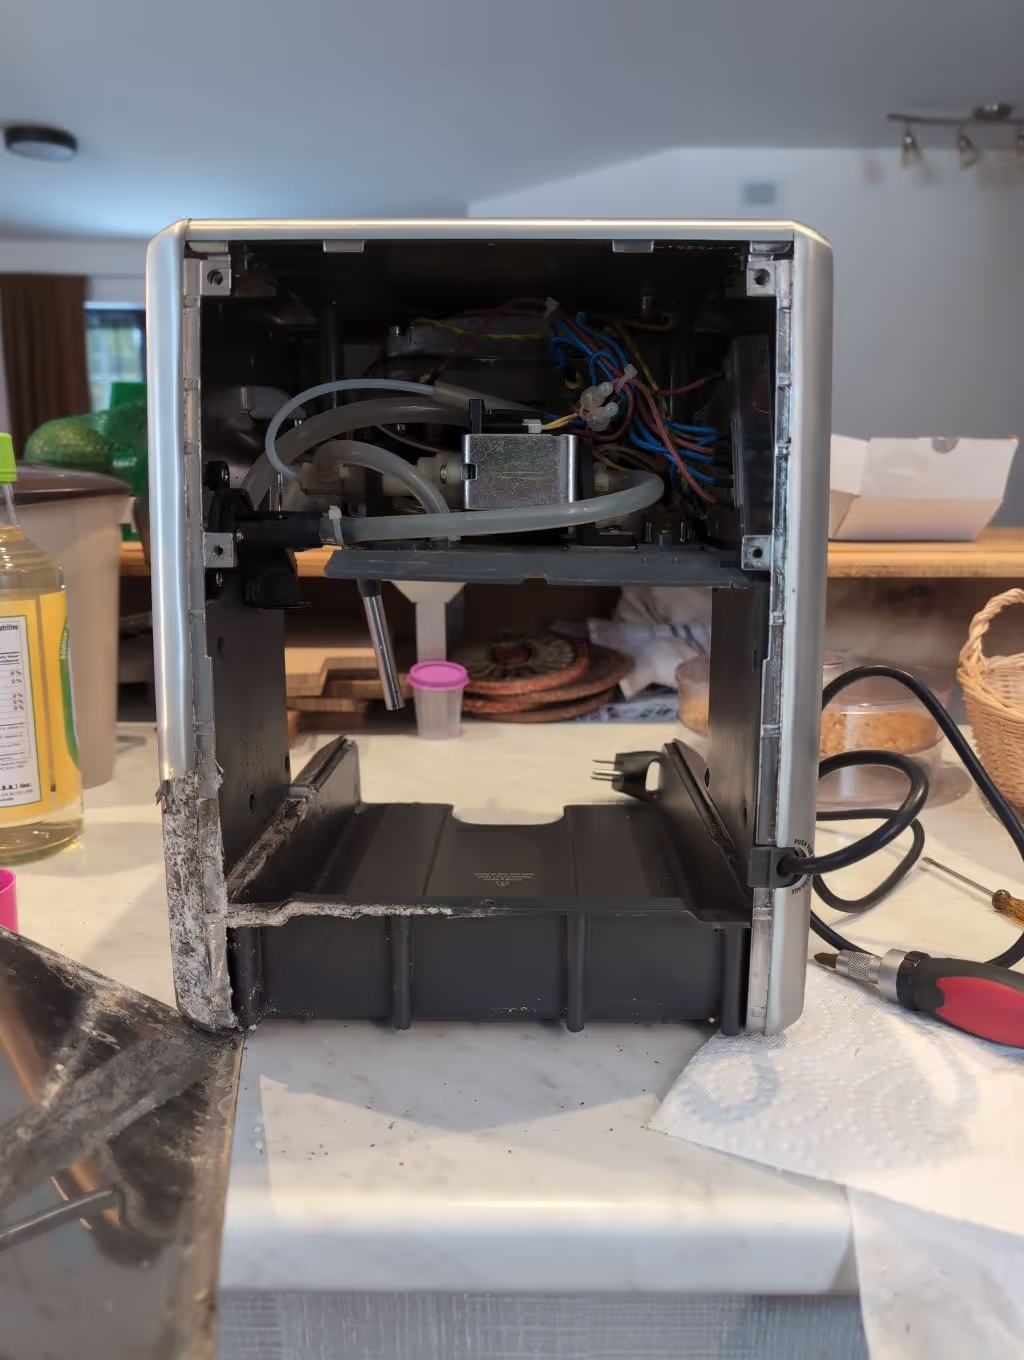
After unplugging and emptying the machine, you can remove the outer casing.
Step 2: Identifying the Pump
Most expresso machine apparently has the pump behind lot of stuff but mine was actually accessible without removing anything. You may need to remove different parts to be able to access the pump. Take multiple pictures to be able to put back everything right.
Step 3: Removing the Old Pump
After disconnecting the electrical connections, There is 3 tubes. Disconnect the one that is directly attached to the pump by pushing the tie-wrap away then pulling the tube. Then, depending on the space you have, you might need to unscrew the part attached to the other side. Otherwise, you can do the same to the other tube with tie-wrap. For the last tube (smaller), pull the pin, then you will be able to pull the tube. Unscrew the part that had the 2 tube connected.
Step 4: Cleaning the Water Pathway
There was some kind of buildup in one tube that was hard to remove so I had to remove the tube entirely to clean it. Make sure to keep all pieces together.
I soaked all removable tubes and pieces in 3% citric acid (about 80ml water for 1/2 tsp citric acid) to dissolve mineral deposits, then flushed them with clean water.
Step 5: Installing the New Pump
Time to put everything back together. Put the 2 tubes to the screwable piece then screw the motor in its rack. Place the tubes where they go, push the tie-wrap and the pin for the smaller tube, do the same for the other end.
Step 6: Testing Before Reassembly
Before putting the casing back on, I connected the machine to power and ran water through the system. Be ready to pull on the plug in case water leaks as it could be dangerous.
Step 7: Reassembly and Final Testing
After confirming everything worked properly, reassemble the outer casing.
Final Thoughts
DIY espresso machine repair isn’t as intimidating as it might seem. With patience and careful attention to detail, even someone with basic technical skills can successfully tackle these repairs. My Breville runs like new although it is rusted in the back.